Support
Pluto comes with a built-in Micro-USB port which is used for charging.
- Connect battery connector.
- Turn off Power of Pluto.
- Attach Micro USB charger to the port on Primus V3R.
- Turn Power On of the charger.
- Red LED will glow on Primus V3R while charging.
- Red LED will goes off when it is fully charged.
The battery indicator shows the voltage as 4.2 when the drone is idle and battery is not under
load. Once you start flying the drone, this figure will drop sharply as the battery is under load
so no, this does not indicate any fault with the Battery.
Tips to update Pluto firmware
- Download firmware on your smartphone
- Connect Pluto to your Pluto Controller app
- Go to Update Firmware
- Tap Choose Firmware File and Select the .hex file
- Press Flash
- Pluto and Pluto controller will restart when it’s done
Due to centre of gravity or weather issues, the drone may drift off course in either axis.
In order to balance the drone out,a trim value is set.
Hence if your drone drifts forward or rolls to the right , a trim is applied to the pitch or roll with a negative value and vice versa.
In order to balance the drone out,a trim value is set.
Hence if your drone drifts forward or rolls to the right , a trim is applied to the pitch or roll with a negative value and vice versa.
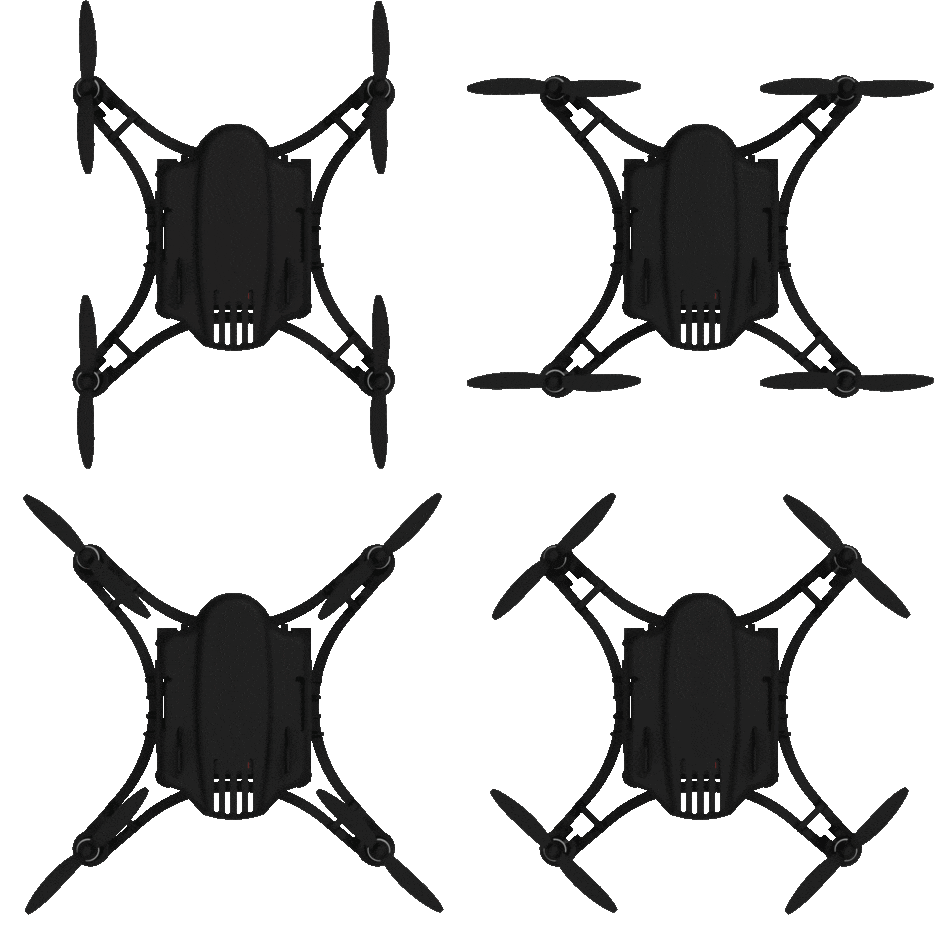
There are two sets of propellers. “A” marked propellers rotate clockwise whereas “B” marked
propellers rotate counter-clockwise.
Use below image for reference

Use below image for reference

There might be problem of motor wires shorting. Please check the motor wires.
This is because of wrong placement of propellers.
There are two sets of propellers. “A” marked propellers rotate clockwise whereas “B” marked propellers rotate counter-clockwise.
Use below image for reference.

There are two sets of propellers. “A” marked propellers rotate clockwise whereas “B” marked propellers rotate counter-clockwise.
Use below image for reference.

Pluto can carry a maximum weight of 10g.
No, you do not require internet to fly Pluto.
Pluto has a standard flight time of 7 minutes.
80 meters
Pluto works on wifi communication.
Pluto works on wifi communication.
Yes, you can use third party Joysticks with Pluto. It has support for OTG as well as Bluetooth
Controllers/Joysticsk.
Follow the steps to fly with your own joystick
Follow the steps to fly with your own joystick
- Connect your Gamepad to the Smartphone.
- Open Pluto Controller App and Go tap MENU.
- Go in Control Setting
- You can see Gamepad icon. Green Dot indicates your Smartphone is connected to Gamepad while Red Dot not.
- Check if controls are mapped correctly, if not, Tap Gamepad icon and edit mapping according to your comfort.
Aramex
Yes, shipping cost will be separate than the original cost.
That depends on your location. We will disptach on the same day or very next working day of your
order.
Payment gateways available is Instamojo. Instamojo collect payment through credit cards, debit
cards and netbanking.
You need to contact Pluto customer support at support@dronaaviation.com
You will receive tracking details through mail from support@dronaaviation.com
No, it is not necessary. You can checkout with guest account.
You need to contact Pluto customer support at support@dronaaviation.com
Please check the following:
Ensure that your battery is fully charged.
Propellers are mounted as recommended. Check “assembly / disassem- bly” section for more information.
Check if you are connected to your Pluto’s wifi.
After you ‘connect’ to Pluto1.2 using the app, ensure that you are getting a solid green LED. If not, please use the “LED status” section above to correct for any errors.
The drone controls angles and not velocities. Some drift can be expect- ed. In order to reduce this
drift you can try the following:
Perform Accelerometer calibration on a flat surface.
Please follow the “Trim” section to reduce drift as low as possible.
Perform Accelerometer calibration on a flat surface.
Please follow the “Trim” section to reduce drift as low as possible.
To maintain altitude, the drone uses a mems barometer. You can
expect the altitude to vary +/- 50cm. This is normal. If the drone is
very erratic in Z-axis, one possible cause is excessive vibration. Please ensure the following:
Replace propeller if the propeller is damaged. Very little damage can also cause excessive
vibrations
Make sure that the PrimusX board is not in contact with plastic part but only the dampers.
Make sure that the PrimusX board is not in contact with plastic part but only the dampers.
Please try restarting the drone.
Make sure that the drone’s magnetic calibration is performed properly.
Hardware: 64 bit computer, 2GB RAM, 128 GB storage, minimum Intel i3 level processor
Software: Java 8
OS : Windows, Linux , macOS
Software: Java 8
OS : Windows, Linux , macOS
It means there is no .hex firmware file in your project generated, which is because of you haven’t
build project. Make sure you build the project before flashing.
Make sure you have connect your computer to Pluto WiFi before flashing, if problem persist restart
the Pluto and try again.


